
PRODUCT APPLICATION
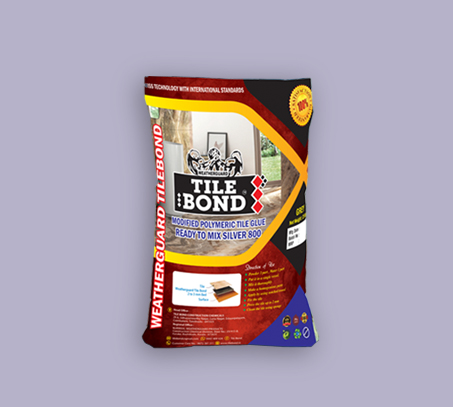
Tile Adhesive
Mixing:
The tile adhesive powder should be added slowly to clean water and mixed thoroughly to give a slump free easily worked adhesive. The mix proportions by volume are approximately 3 powder to 1 part water (25kgs bag of powder requires approximately 4.5 litres of water).This may vary depending on whether the surface is horizontal or vertical.
Application:
Apply the adhesive to a bed thickness of 3mm-6mm to the prepared surface with a suitably sized notched trowel leaving solid ribs, When tiling floors, external situations and wet areas such as showers or swimming pools, solid bed fixing must be achieved. To achieve this the tiles should be "buttered" immediately prior to placing into a ribbed bed, removing any voids. Bed the tiles in firmly with a slight twisting action and make adjustments within 15 minutes of fixing. leave adequate space between the tiles for grouting approximately 1mm-3mm for wall and 2-15mm for floors) cleaning off excess adhesive from the tile face & grout lines with a damp cloth before it sets. Tools should be thoroughly cleaned in water to remove excess materials immediately after use
Video of Application
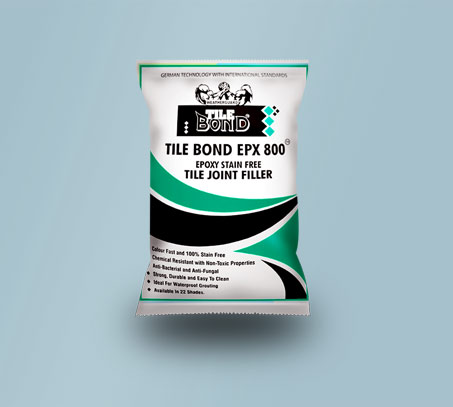
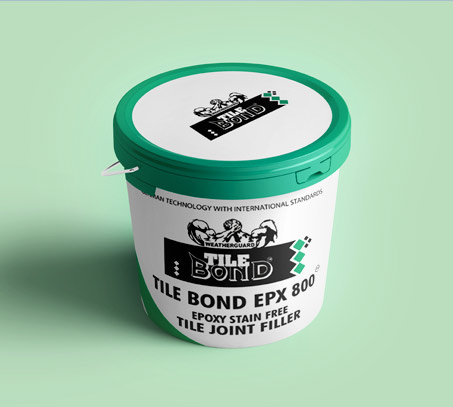
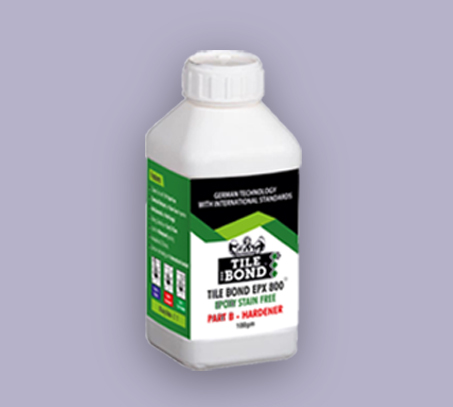
Epoxy Tile Joint Filers
Mixing:
The tile adhesive powder should be added slowly to clean water and mixed thoroughly to give a slump free easily worked adhesive. The mix proportions by volume are approximately 3 powder to 1 part water (25kgs bag of powder requires approximately 4.5 litres of water).This may vary depending on whether the surface is horizontal or vertical.
Application:
Apply the adhesive to a bed thickness of 3mm-6mm to the prepared surface with a suitably sized notched trowel leaving solid ribs, When tiling floors, external situations and wet areas such as showers or swimming pools, solid bed fixing must be achieved. To achieve this the tiles should be "buttered" immediately prior to placing into a ribbed bed, removing any voids. Bed the tiles in firmly with a slight twisting action and make adjustments within 15 minutes of fixing. leave adequate space between the tiles for grouting approximately 1mm-3mm for wall and 2-15mm for floors) cleaning off excess adhesive from the tile face & grout lines with a damp cloth before it sets. Tools should be thoroughly cleaned in water to remove excess materials immediately after use
Video of Application
Acrylic Stone Back Coat
Application Method and Surface Preparation
Ensure that the surface is clean from loose particles, dust, oil, grease and make stone surface clean and dry. Apply one coat and allow it to dry, then apply second coat using a soft bristle brush.( First coat horizontally & Second coat vertically. Allow 30 min of drying time between coats) Leave it for minimum 60 min before fixing the stone. Apply one or more coat necessary depending on the porosity of the stone.
Advantages
Easy to Apply
Good Bond with Cement mortar
Prevent good resistance against mortar stain. Penetrating cum film forming
Cost effective
Mirror polish with very good penetration
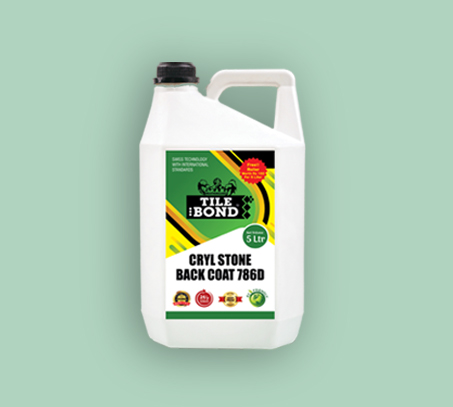
Video of Application
PACKING
Available in
Tile Bond CRYL Stone Back Coat 786D- 1Litre Bottle
Tile Bond CRYL Stone Back Coat 786D- 5Litre Container
COVERAGE
1 Ltr - 10/15 Sqr. mt
STORAGE LIFE
12 Months in unopen Condition.
SUITABLE SURFACE
Marble, Granite and Natural Stone

